In this tutorial, we will guide you through the process of programming your BallyBot to get it up and running.
Story
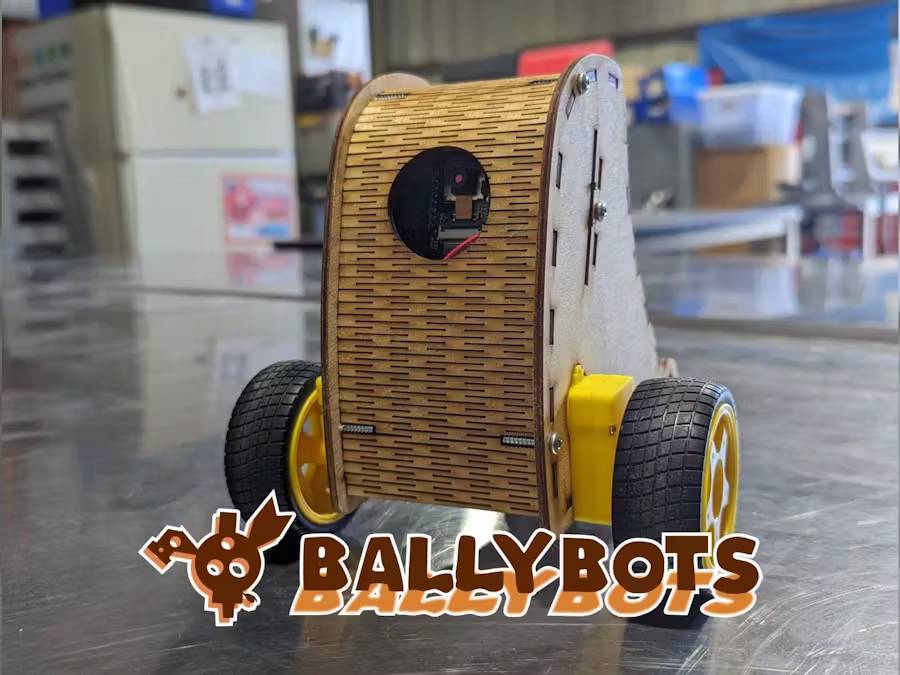
The BallyBot is a robot based on the ESP32-CAM module, a versatile and powerful platform for robotics projects. In this tutorial, we will guide you through the process of programming your BallyBot to get it up and running.
Hardware Requirements
BallyBot robot
USB C cable
Computer
Software Requirements
Arduino IDE (version 1.8.x or later)
Step 1: Setting up the Arduino IDE
Download a version of Arduino IDE from here: https://www.arduino.cc/en/software
Open the Arduino IDE and navigate to File > Preferences.
In the Additional Board Manager URLs field, add the following URL: https://dl.espressif.com/dl/package_esp32_index.json
Click OK to close the preferences window.
Navigate to Tools > Board > Boards Manager.
Search for ESP32 and install the ESP32 by Espressif Systems package.
Step 2: Configuring Arduino IDE for the ESP32-CAM
In the Arduino IDE, navigate to Tools > Board and select AI Tinker ESP32-CAM.
Step 3: Get BallyBot examples
There are examples of using the BallyBot at this GitHub repository: https://github.com/williamsokol/Esp32Robots/tree/main/RobotBuilds/Esp32_Stream_Robot3
download a zipped version of the project and unzip it in the file location: -C:\Users\<YourWindowsUsername>\Documents\Arduino
For the sake of seeing a different code than builtin, lets use the LED Blink example.
Open the example's.ino file with Arduino IDE
Step 4: Connecting the BallyBot
Connect the BallyBot to your computer using a USB C cable + FTDI Programmer.
Make sure the upload is turned on and then toggle the power off then on
Select the correct Port for your BallyBot (usually COM3).
Step 5: Uploading the Code
Click the Upload button in the Arduino IDE to upload the code to your BallyBot.
Wait for the upload process to complete.
Turn off the upload switch and then toggle the power off and on again.
You should see the wheels on the BallyBot turn backwards for 1 second and then you have successfully uploaded new code to the BallyBot!
Similar Tutorials:
https://randomnerdtutorials.com/program-upload-code-esp32-cam/